Showing posts with label sewing machine. Show all posts

Wednesday, December 5, 2018

Storewide discount moves to 30% and the Bernina discounts are amazing!

Effective Wednesday, December 5, 
our storewide discount moves to 30%!  
The same rules apply as before, if you click this link you will get the full information.  We are still cutting lots of fabric and people are coming in prepared with measurements and colors to get big chunks for backings.  I keep discovering new fabric that catches my eye, like this one--
This is a panel print, it's about 40" square, and would make a wonderfully
creative piece of wall art on stretcher bars.  It really makes a statement! 

All of our notions, rulers, books and patterns are also discounted 30%. 
We just restocked these cute these cute Stash and Store items
that have been selling out and would make a great little Christmas gift idea.
Bernina floor models are still available to purchase at prices aimed to make you smile!  The elf on the shelf thinks you have been a very good girl or boy and should have a new machine under the tree!  First, we have "demo" machines which have been lightly used in the store, but almost like new!  All are discounted individually and our staff will show you how they work and answer any questions you might have.  If you would like to call ahead, the number is 651-429-6500 or visit the Bernina website.
B880 Plus, B790 Plus-AE, B770 (x2), B700, B500, Bernette Sew and Go, Bernette Chicago 7 and the Bernette B35
Sergers:  L450 (x2) and L460


In addition to the demo models, we have some new-in-the-box machines:  a 740 and a 770 SE, Bernette B38, Bernette Sew and Go, Bernette B35.  And new sergers:  L450 (x3) and L460 (x2)
These brand new machines are greatly discounted, but not quite as much as the demo models.

Also, in the Bernina department, we still have an ample supply of machine embroidery patterns and CD's.  Thread and stabilizers have been re-stocked as well.  These are all 30% off.

Another special opportunity is available to you for a limited time.  
If you have ever been in the store, you undoubtedly noticed the class tables and cutting tables up in the front.  The craftsman who makes those tables has several prototype cutting tables that we are selling for him.  They are very similar to the tables we have been using, but there are some bumps and bruises and unfinished wood.  But, the only cost $99!  They are a great height for cutting and the tabletop fits a cutting board easily.  I even assembled one yesterday, just to prove that I could.  It comes unassembled, but you only need the little wrench and bolts that are supplied.  If you've ever gone down the IKEA assembly rabbit hole, this will seem like a cinch!

Remember, our store hours have changed so we are not open evenings.  With these dark days, it's a good time to cocoon at home!  And, we are closed for 3 days (24-25-26) for Christmas.
Another important date to remember:  December 15 is the last day that we will accept sewing machines for service and repair.  That is also the final day that we will continue to hold any special requests, so if you haven't picked up your item(s) by then it will be placed in the store for purchase.  We still do not have a final closing date for Bear Patch, it will be sometime in January.  That's all I know for now!
Watch for future emails and follow us on Facebook for updates!

Bear Patch Quilting Co.
651-429-1039
bearpatchquilting.com
bearpqc@aol.com

Monday, December 18, 2017

2 of our Favorite Things

It's time for another anniversary moment, and it's a two-fer!

It's not too hard to guess what I'm talking about when you see this picture! 

Honestly, I'm pretty sure that if Bear Patch had lived in a previous life, it would have been a ribbon store.  That's the kind of prettiness that is just under the surface when Debbie is choosing goods for the store!  She could easily slip over the edge and buy racks and racks of ribbons and trims!  I've been there.  I've seen the lust in her eyes when she is surrounded by beautiful ribbons, and I've had to pull her back to reality!  It's a tough job, but someone has to do it!

And what about those rainbows of zippers!?  We love our 14" zippers from Atkinson Designs!  We use them in so many ways, it's hard to imagine what life was like before our rack of zippers moved into Bear Patch!  These are the best zippers for many of our bag patterns because they can be easily sized down for any length 14" or less.  There's no fear of zippers around here, and we'll help you master any zipper anxiety you might have!

So, it's December 20th just around the corner.  Our final chance to pass out a little present to celebrate our 20 years of doing business right here on the corner of 4th and Banning!  
It will be a zipper and ribbon combo, because we want to share 
2 of our favorite things with you!

Come to the store from 9AM to 9PM to receive your little present! 
 No purchase necessary, one per customer, please.  
We would love to see many happy faces on Wednesday!

Thursday, June 8, 2017

Let's Get Organized!

We are testing out some new products from Noble Notions.
These are components of storage "cubes" that can link together in a stack or be used individually.  They are designed specifically for sewing accessories.  Here's a description from their website: 

The Sew Stack is a modern storage system for bobbins, thread spools, tools, and machine feet .The bobbin tray holds up to 40 bobbins and the thread tray holds 16 small or medium sized spools including Aurifil, Mettler, Guttermann, Sulky, as well as many others. Our machine feet box holds up to 28 presser feet.  Add trays as needed, all Noble Notions Sew Stack items are designed to snap lock with each other. Latex free & Made in the USA.


Both styles of small Bernina bobbins fit the box.
A box for the larger Bernina bobbins is not yet available.

The Thread Box accommodates many brands and sizes of spools.

The Feet Box has a foam base to snug up all styles of machine feet
to protect your investment from damage during transport.

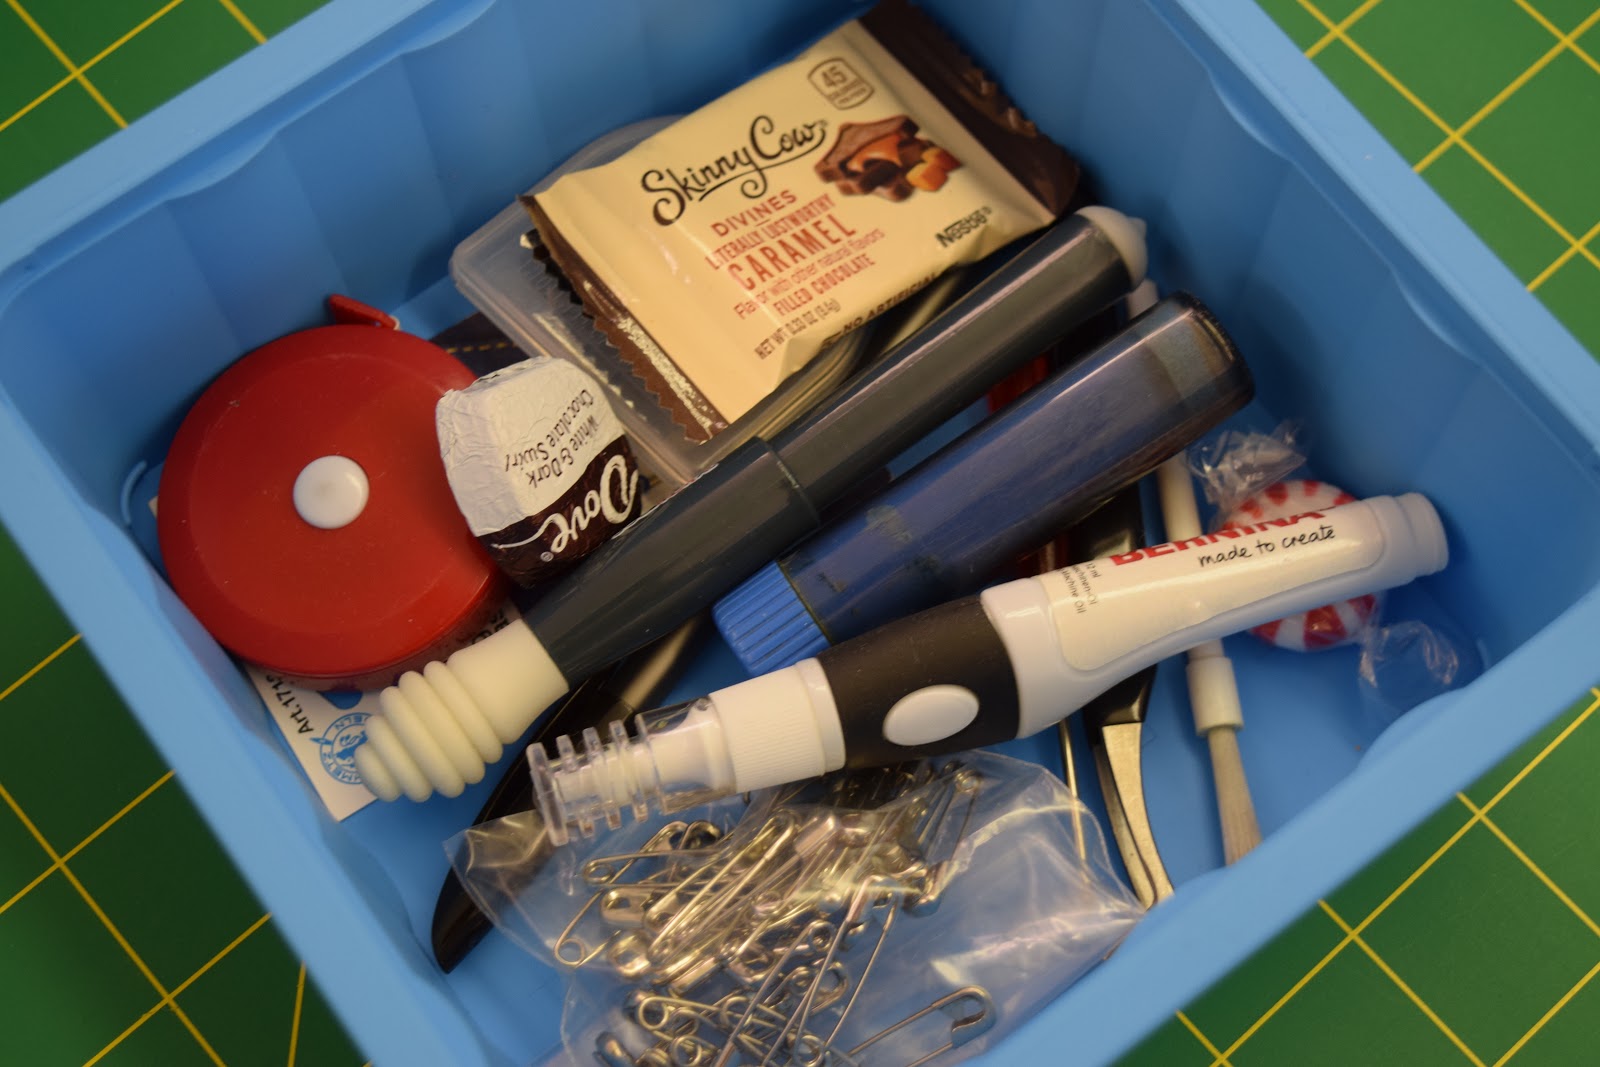
The Tool Box holds odds and ends and treats and trinkets.
We like the colors and size and even the feel of the plastic.  It's softer than the usual plastic containers, but not rubbery, either.  You will just have to feel it for yourself!
They are 6.5" square at the largest point.
They range in price from $22.99 - $39.99.

Wednesday, May 3, 2017

Pillowcase Challenge!

We are hosting a special event on Saturday (May 6) and we need your help to make it work!  For several years, we have participated in the American Patchwork and Quilting 1 Million Pillowcase Challenge.  We've lost count of how many pillowcases we have passed on to charity, but it's in the thousands!  The APQ website states that they are about 3/4 of the way to their goal--they have 724,979 donated so far.  That's a lot of pillowcases!
The pillowcases that are made by customers and dropped off here at the store have been donated to the Harriet Tubman Women's Shelter.  
On Saturday, May 6, we are going to host a pillowcase work day for anyone who can attend.  From 10 AM - 4 PM, we will have serger machines set up and ready for you to use to make a pillowcase.  It's super simple, and don't worry if you have never used a serger before!  In fact, don't worry if you have never even sewn before!  We have stacks of pillowcase kits pressed, trimmed and waiting for you!
Even if you don't stop and sew with us, you can participate by donating a pillowcase from home (brand new, of course).
Here's one of our previous volunteers, doing her part to help the cause--

Thank you!
When you participate, we always appreciate your time and talent.  When you take a few minutes to sew with us Saturday, you will receive a valuable coupon!  The coupon is valid for both Saturday and Sunday, and you will receive a one-time discount of 20% off fabric, books and patterns that are in-stock.
There's good in doing good!

Saturday, April 22, 2017

Our Quilted Inspirations!

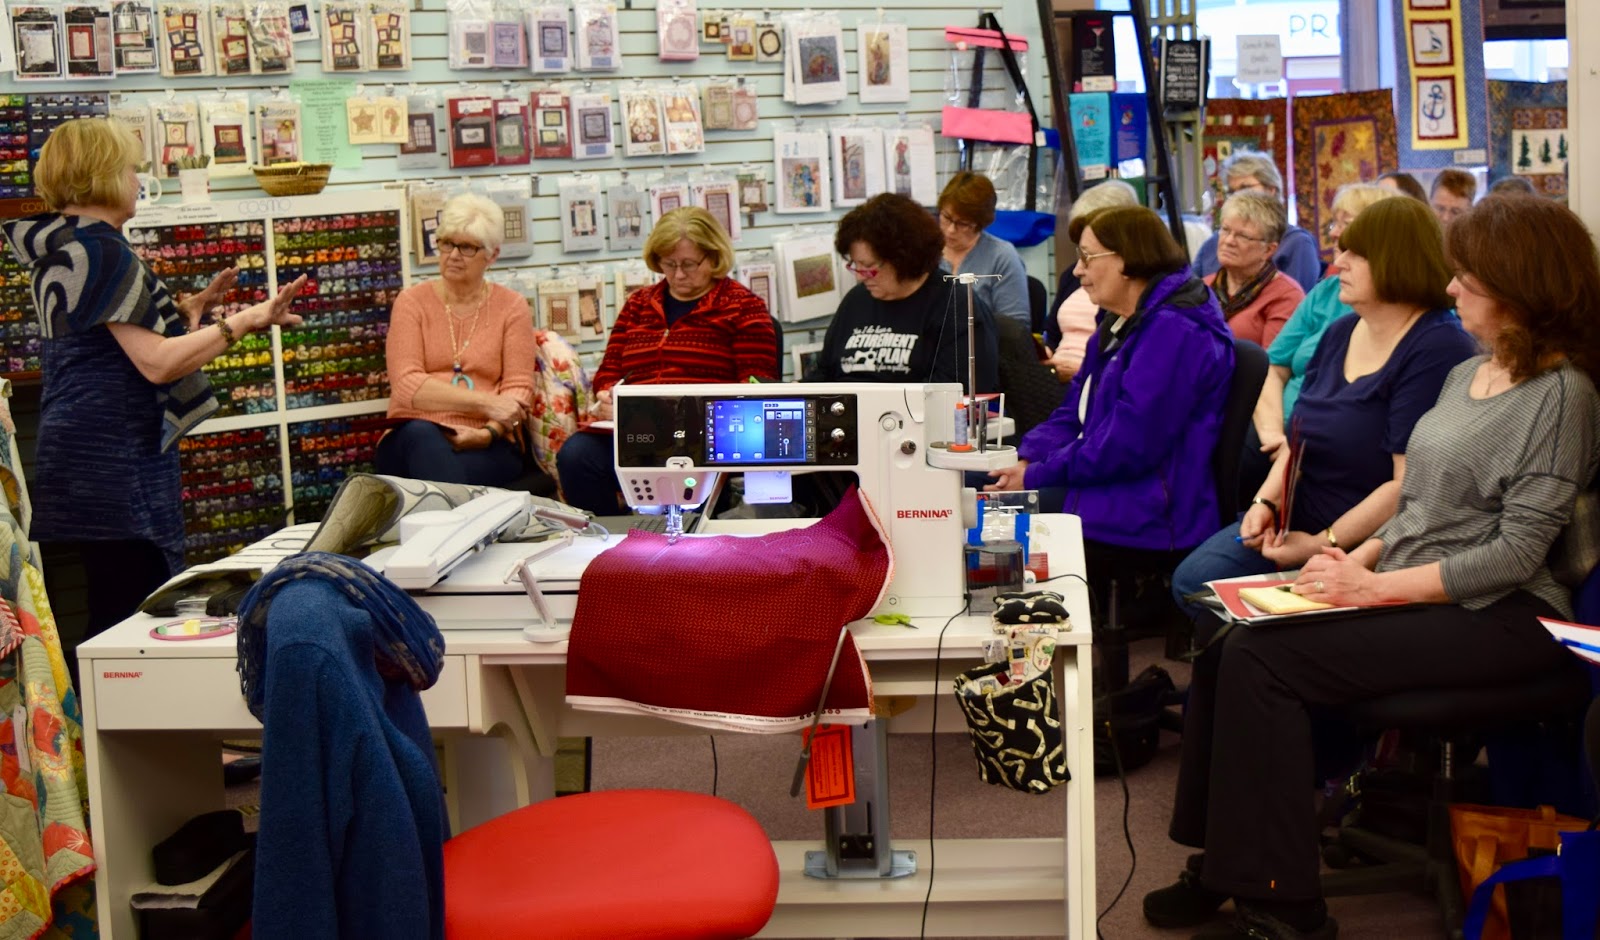
 We recently enjoyed the pleasure of hosting Nina McVeigh, a Bernina Educator, for 2 classes in the store.  We were so please and gratified to have a full house for her presentations!  We all enjoyed and learned from her topic, "Quilted Inspiration".


Nina travels the country for Bernina as an sewing expert and teacher.  She shared her own experience of a trip to the Bernina headquarters in Switzerland, and the inspired quilts that came to be.  It was eye-opening to see the pictures of places and things on that trip which she turned into quilt designs.


Along the journey, she highlighted many special features and functions of the Bernina machines that helped make those quilts a reality.  She demonstrated several products that helped create the quilts and projects she displayed.  A very talented woman!

What a great group of customers!  All enjoying Nina's story!

And, of course, there were refreshments and treats for everyone!
The event wouldn't be complete without that!

Thank you, Nina, and we hope to see you again in the shop!


Wednesday, April 5, 2017

Lunch Box Quilts Trunk Show

If you are familiar with Lunch Box Quilts, you might already have used one of their designs for machine embroidery and applique.  If not, we have a special treat for you!

Lunch Box Quilts has loaned us large collection of their samples, and we have them on display during April.  We have already been re-ordering some of the design CD's, they are just that popular!  Some of our talented Bernina employees have already used these designs for samples displayed in the Sew Center.  But this trunk show is wonderful because there are a lot of designs that we just don't have time to complete.  And seeing these stitched out and sewn into quilts and wallhangings gives such a better idea of the quality of the design composition.

Many of the pictures in our slide show are small sections of a much larger quilt, illustrating how you can pick and choose which portions of a design you want to use and tailor it to the size you need.  We hope you enjoy this little glimpse of the Lunch Box Quilts.  If you want to see more complete pictures of the designs, plus many more that we don't have in this slide show, please visit Lunch Box Quilts website.  We can order any of the designs that you might want to request.  These embroidery design files are in all of the usual formats for many brands of machines.  Don't have an embroidery machine?  We can help you with that!  We are ready to demonstrate the functions of the Bernina embroidery machines whenever you visit the store.  Plus we have quite a few classes and the supplies that will help you on the way to success with machine embroidery.

Click to play this Smilebox slideshow
Create your own slideshow - Powered by Smilebox
Slideshow design customized with Smilebox


Thursday, January 5, 2017

Winter Classes 2017

We have another full round of classes ready for our great customers!  We have been busy bees in the store since Christmas, with our clearance sale for 3 days, and then 3 days of inventory, changing displays, cleaning, new products, etc.  We are very happy to show our latest listing of classes, for complete information visit our website.  Here's a little sampling!
Click to play this Smilebox slideshow
Create your own slideshow - Powered by Smilebox
This digital slideshow generated with Smilebox


Sunday, July 31, 2016

Sewing Tips for Ten!

There are some tips and information that I want to share with you regarding my new quilt pattern, Ten.  This is kind of an add-on bonus to the printed directions for Ten.  The Ten pattern is available for purchase at Bear Patch. 
Ten by Emmaline Design
Quilt MN 10th Anniversary
The blocks in Ten used quite a few of the "corner squares", AKA "snowball", or "cheater corners".  I re-named them because in my opinion, it's not cheating to build a better block and improve on techniques!
When I first learned quilting, in 1980, things were mostly done by hand.  So I learned that to make a piece that looks like this:


I would use a triangle template and a matching strip that was cut at a 45 degree angle on both ends.  Simply hand stitch on the seamline, and you've got it!

Then came the sewing machine revolution!  We discovered that our sewing machines could stitch together quilt block pieces in a fraction of the time of hand sewing!  We went through a period of adjustment and acceptance before this machine work was viewed as legitimate.  When I started attending my local quilting group, Ham Lake Piecemakers, the majority of the group did entirely handwork.  Or maybe they were learning to piece by machine, but always quilted by hand.  Thanks to a few friendly and open-minded members, they took me in anyway!  Now the tables have turned, and those who do hand piecing and hand quilting are few and far between.  I still dabble in the art of hand quilting a bit, but I love my machines!

So now, there is a method to make those little triangle pieces on the corners of a larger strip or square or rectangle by machine.  By stitching a diagonal line across a square shape and the larger shape beneath it, we can mostly eliminate any problems with stretch on that bias edge.  But, we need to practice accuracy or else we get sloppy results.

There are 3 methods I am going to cover for this technique.

1.  Place a strip of masking tape on the bed and tabletop of your machine, in line with the foot.  It only needs to be about 4" long.  Mark a straight line down the tape.  Put the needle down and center the marked line with the needle.  Make sure it isn't slightly angled one way or another.  Don't let the tape come in contact with the feed dogs.  That would really screw things up!  Feed one corner of the little square to the needle.  Keep the opposite corner of the square on that center line as you continue to feed it into the needle.  No need to backstitch because these will be sewn into another seam later and prevent the ends from loosening.
Drawback:  this doesn't work with large pieces because you can't get a line of tape extending forward far enough to accommodate something like an 8" or 10" square.  Depending on the type of tape used and how long it's left in place, you could get some gummy residue.
Advantage:  it's cheap!


2.  There are several products that can be purchased to use instead of the masking tape.  These all afix to the bed and tabletop of your machine in some way.  Probably my favorite is Clearly Perfect Angles.  It is a "cling-on" sheet of plastic that has the markings for the diagonal seams, plus more.  There are directions for using the additional markings in other piecing.  Plus, if you are sewing garments, there's a 5/8" line printed on the plastic to guide your fabric.  Here's a link to a short video demonstrating some of the features of this product.
Drawback:  purchase required, and you have to remember where you put it!
Advantage:  it is easy to put in place and has the option to be left in place indefinitely (so you don't have to remember where you put it!).


3.  Draw a pencil line on the wrong side of the little squares from corner to corner.  Use a ruler that's small enough to be convenient and just a little longer than that diagonal line needs to be.  It's best to use a sheet of very fine grit sandpaper on the table top.  You can even purchase sandpaper boards.  The grit holds the fabric still but isn't rough enough to make a bumpy surface.  If you have the fabric on a smooth surface and apply much pressure to the pencil, you can get a little "wave" of fabric just ahead of the pencil, and that inevitably turns out crooked.  Use a mechanical pencil to keep a sharp point and fine line.
Drawback:  takes longer to prepare
Advantage:  very little expense required (sandpaper and mechanical pencil).

Now, let's talk about a pressing matter:
You might have noted that quite a few of the newer patterns call for pressing your seams open instead of to one side.  If you have made garments, pressing seams open is the norm.  For a long time, we have had it drilled into our quilting brains that we always press seam allowances to the side, usually the darker of the 2 fabrics.  I'm not 100% sure of why that was the absolute correct way to do it, but I have a theory!  When seams were hand stitched with a running stitch, there could be little gaps visible if the seams were pressed open and then stretched.  By pressing to one side, anything visible through a tiny gap in stitches would just show as ordinary fabric.
Flash forward to today, with machines that sew a neat and tidy seam, and there are no gaps!  So if that was the reasoning behind the pressing question, it now is invalid.  And we can press any direction we want!  When I have some bulk in the seam at points where seamlines cross, it can look much neater to press open.  And I have a handy little helper for that!


The Strip Stick!  It's a fabric covered stick, flat on one side and slightly curved on the other, and available to purchase at Bear Patch.  When I lay the seam on the curved side of the stick, it is easier to get the tip of the iron started on the seam correctly between the 2 layers, and continue the length of the seam.  There are several lengths available, I use the 18" size for all of my needs.  I can press one section, then slide and reposition for the next area.

Give it a try--you might just be surprised at how you like it!  

I hope that this is some help to you not only for your Ten quilt,
but many other sewing and quilting uses.   If you are interested in purchasing the Clearly Perfect Angles and/or Strip Stick, please contact the store at 651-429-1039.
Pam

Friday, July 29, 2016

Quilt MN 2016!

Enjoy our gallery of quilts and displays celebrating the 10th birthday of Quilt MN!

Click to play this Smilebox slideshow
Create your own slideshow - Powered by Smilebox
Free picture slideshow made with Smilebox

Wednesday, May 11, 2016

Favorite Things 2


Linda P. is in LOVE with her #53 Edgestitch foot for Bernina!


In fact, we sometimes call her "53" to distinguish her from
 Linda E.!

Linda works in the Bernina sewing center and teaches classes, too.  She is an excellent resource for just about anything, and if she doesn't know the answer, she knows ways to find it!

Here's what she has to say about the #53 foot:

Bernina Foot #53 is a unique and versatile foot for straight stitching and one of my favorites!  It is Teflon coated so the foot moves easily over leather, vinyl or other "sticky" materials as well as being invaluable for sewing wonderfully on all quilt and woven fabrics. 

The left "toe" is 1/4" wide and the right toe is 1/8" wide.  By using the right toe as a guide, any topstitching becomes precise and accurate.  This is my Go-To foot for the final topstitching when inserting a zipper.  The 1/8" wide toe is perfect for using as a guide next to the fold as the toe is skinny enabling stitching to be closer to any edge.

I love this foot so much that I actually have 2 of them as I would go into an absolute panic if I were to lose one and not have an extra one available!

Thank you, Linda, for your enthusiastic testimonial!  If you click on the link in the first line above, you will go to the Bernina website information and video about this foot.

Saturday, March 5, 2016

Our Retreat in Review

As explained in our last post, we had a wonderful employee retreat to attend, and lots of stitchin' was accomplished!  Even knitty stitchin'!  Here's a fun group picture--

From the top left:  Anne, Diane, Pam, Eileen, Kristina, Karen,
Jeanne, Tammy, Nancy, Linda E., Linda P., Sue, Sharon and Barb

Missing from that photo are Debbie and Laurel (hiding behind the lens!) and Beth and Marlene, both out of state in warm climates!  

Some pictures of our works-in-progress--

Modern Logs by Christa Quilts.  This is Debbie's quilt for the next Easy As Pie class.
It's way outside her box!
During our fat quarter game, we were very focused!  

Karen learned how to use the serger, thanks to Jeanne's help.
Receiving blankets, which means the Karen will soon be receiving the title of grandma!
And possibly dreaming of owning a serger?!

This is a quilt that Linda E. was making, it uses flannels that look "suedeish", probably not a real word, but it is a really cool quilt!  We have coordinated packs of the flannels for purchase, and I will find out where her pattern came from.

This little doll reigned over the sewing room, staring down anyone within range!  And Jeanne, who is hiding behind the machine, made a fabulous little backpack for her!  She also made a little ruffly skirt for her granddaughter and one to match for the doll.

Sharon showed us her embroidered quilt top, a pattern by Crabapple Hill.
 Sharon is a pro at embroidery, and teaches our classes.
There are a lot of ladies who love embroidery!

Laurel worked and worked and worked on these blocks!  And the result is fabulous!  Soon to be a class, I am told!

Barb worked on some beading, look at that neat and tiny little chain she made!

Saturday, November 1, 2014

The Trip to Quilt Market in Houston

Finally!  I get to share a recap of Houston International Quilt Market 1 week ago.  Due to some "technical difficulties" I couldn't get this written and posted while I was there, but I did get some pictures for you.  I actually did write a post but it vaporized into thin air.  Once we got home Tuesday, I was right back in the middle of homelife without time to put my thinking cap on to write.

International Quilt Market is a trade show for everything about sewing and quilting.  It is only open to people "in the business" in one way or another.  It is followed by a quilt show and marketplace for the general public.  From machines to fabric to tools and gadgets, this is the place to be to keep up with the constantly changing ideas in the business.  There are also classes and seminars for shop owners to learn and discuss ways to make our stores better places for customers.  And there is a lot of networking and connecting going on at the same time.  There are hundreds of vendor booths in the convention center.  We spent 3 full days on our feet, walking up and down the aisles to find the latest and greatest for Bear Patch.  
And when it was done, we felt like we hadn't had enough time to see it all.

Now, to review:
We stayed at the Magnolia Hotel in downtown Houston, within walking distance of the convention center.  It was a few blocks, but doable, plus Debbie was counting her steps so we needed to get the total boosted.  These pretty colored lights were hanging in the hotel lobby.


Here's a look at some new tools and templates for miniatures of traditional blocks.  Miniaturization seems to be a big trend, possibly less here in the midwest than in other locations, but still a popular technique.  I put that business card in there to show you the tininess of this sample.  (Is that a word?)


I even got to sit down and sew a couple of seams under the guidance of Darlene Zimmerman in the EZ Quilting booth.  Many of the makers and distributors of sewing notions partner with real live quilters to develop and promote their products.  Darlene has several specialty rulers and templates with the EZ Quilting label.  And since she's a Minnesota quilter, we always are glad to see her!

The little seam I sewed above goes into the quilt below.  I didn't get very far, just enough to know that it is easy to sew this curve without pins.  Become liberated and sew without pins!


 We paused at the booth of Whirligig patterns, also a Minnesota connection!  


Since I had just finished teaching an English Paper Piecing class (Paper Pizzazz) with much smaller pieces, I was interested in this quilt called Hump Day.  These clamshell pieces are about 5.5" across and are machine sewn.


Whirligig has another pattern called Full Moon Rising which I have seen done in dark colors, but when I saw it in these pretty light prints I said to myself, "Self, what a good idea to go to the light."  Would love to use some of our pretty Art Gallery fabrics at the store to make this.

Full Moon Rising

 We found a new-to-us company, Lumenaris, supplying kits for wool applique.  We did some picking and choosing of just the right things to stock at the shop.  These are going to be a great addition to our selection of wool supplies.  The boxed kit contains the precut wool felt pieces, thread, directions and even a needle, I think.  I picked one ornament kit to carry home with me and I opened it up and started stitching right away.  Then I checked my sister's blog, and found out she was one step ahead of me!  Since she is way out there in California (probably still hoarse from cheering for the Giants), I can only say that it must be in the blood!


So that's the beginning and I will continue to add more pictures and information in the next few days.