Showing posts with label GE Designs. Show all posts

Monday, July 17, 2017

Thursday Is The Day!

First big reason to shop at Bear Patch on Thursday, July 20:
This is a day that requires you to play hooky from whatever else you are supposed to be doing!  Your presence is requested at Bear Patch!  20 is that magic number signaling another anniversary gift from us to you!  This month, we have called on the resources of a very talented local designer--Gudrun Erla!  You might already know Gudrun and her company, GE Designs.  She designs quilt patterns and fabric, too.  And lately, she has been busy designing rulers through Creative Grids Rulers.  Her Stripology and Stripology Squared Rulers have been big hits with many quilters, and she has a full range of books and patterns to support those rulers.  In addition to that support, she has another product - GEasy Ruler Stickers - which come in oh-so-handy on my cutting table!  I did write a product review on this blog last May, which you can refer to if you would like to see how I make use of the Ruler Stickers.  But better yet, watch this video to help you understand why you really need these stickers!


For our anniversary celebration, Gudrun has packaged single sheets of stickers for us to give away!  You will receive 64 colored arrow stickers just for being our very best customers!  They will be 1 of the 3 colors in her usual package, and if you want the full assortment they will be available to purchase.  No purchase necessary, available 1 per customer while supply lasts.
2nd big reason to shop at Bear Patch on Thursday, July 20:
Our summer sale starts!  25% off in-stock fabric, books and patterns!  Many kits will be included for past projects, too.  And here's something we have never done before-- all fat quarters are $1!  And our little Bear Cubs (12" x 10") are 3-for-a-dollar!  We have been very busy reducing our stock, marking reductions, and preparing for our 5 day super sale!  Here are the dates:
Thursday, July 20, 9-5
Friday, July 21, 9-5
Saturday, July 22, 9-5
Sunday, July 23, 12-4
Monday, July 24, 9-9
I promise it will be worth the drive, unless you're coming from Alaska!  Or depending on your thinking, it might even be worth that drive just for the fun of it!  I think if I look real hard at the horizon, I can just barely see a convoy of quilters speeding southeast to Bear Patch!

Saturday, May 13, 2017

Product Review - Ruler Stickers

I just tried out a new product, and I want to tell you about it.  It's G Easy Ruler Stickers from 
GE Designs, designed by Gudrun Erla.  It is a small pack of adhesive backed stickers to mount on the top of your rotary rulers.  The little arrows will easily show any landmark measurements on your ruler to help your eye fine tune on the important spots.  The pack is $7.99, and there are 192 re-useable stickers in the pack in 3 colors.  
They can be used more than once, so this pack should last you awhile!

I have used some little post-it note arrow stickers and omni tape before for doing the same thing, but these are a big improvement.  They stick better longer, and the bright colors are easier to see.  Let me show you how I used them:

I needed to cut 2" wide strips for binding from this black and white stripe.  I put 2 little blue arrows on the 2" ruler line close to me and then down at the other end.  I only use the ruler markings for nearly all of my cutting, not the markings on the mat.  So disregard any of the lines on the mat in the picture.  With those arrows in place, I can easily line up the 2" line on the straight raw edge of the fabric and make my next cut.  Then I leave the fabric in place and slide the ruler over to make the next cut.  Slick, right?!


Now, here's an "orphan block" that is perfect for showing you how these little stickers help you trim and center your blocks.  This measured about 9" square or something like that, and I decided it should be trimmed to 6 1/2" for this tutorial.

 Can you see where I put all of the bright pink arrows on my ruler?  A 6 1/2" ruler would be oh-so-convenient, but what if I don't have that size in my quiver of rulers?  Well, I can use any ruler larger than 6 1/2" x 6 1/2" to do the job.  Most of our square rulers have a corner that is what I call the "Zero Corner".  That's in the upper right corner, and the inches grow progressively larger away from that corner.  All the little arrows are on the lines that are 6 1/2" from that Zero Corner.  I have also put an arrow on the point that is 3 1/4" from both directions, and that is where the center point of the block needs to be positioned.
 Now I can slice off the right and top sides of the block

 After making those 2 cuts, lift the ruler but don't twist or turn it.
Turn the fabric 180 degrees.  The edges you just cut should now be 
on the left and bottom sides of the square.


Above, the center arrow (at the 3 1/4" cross hairs) goes right on the center of the block "X".

Below, the lower left arrows on the 6 1/2" lines should be at those raw edges you just cut.  The diagonal arrow and the diagonal line running from that corner to the opposite corner should lay right on the seamline.


The 6 1/2" mark at the top of the ruler and at the bottom right side of the ruler should be right on the fabric edge and the diagonal seamline, as shown below.


Now, trim off the top and right sides of the block.  Ta-dah!  A nice square 6 1/2" block with the center of the X in the center of the block, and the diagonal seamlines right in the 4 corners.

So, there you go!  A very good way to use this handy new product from GE Designs!  If you would like to purchase the arrow pack, call us at 651-429-1039 and we can send it on it's way to you!

Saturday, May 7, 2016

A Few of Our Favorite Things! Stripology Ruler


We have started a new feature for Bear Patch.  This is not a brand new idea to the world, but I have seen it used at Barnes & Noble and Total Wine, so why not at Bear Patch!?  It helps me pick a good book and a bottle of wine, so it could help you pick a new favorite thing, too!

We are highlighting some of our favorite products and an explanation of why this is such a game changer for us.  We get the ball rolling with Debbie:

Debbie is always on the lookout for a great new product for our customers, but she wants them to be as useful as possible.  This was a ruler that at first seemed like it wouldn't be essential.  But after using it for more than one project, she was sold!  Some of her reasons are:

Accuracy of cutting improves because you don't have to pick up and move the ruler for each cut.

There are handy little stars and squares on the ruler to bring your eye right to the inch or half-inch markings.

It's a heavier acrylic material so it's more stable than another brand of grid cutting ruler.  And like all Creative Grids rulers, it has little grippy spots on the back.

It's really perfect for cutting into your fat quarters, and then 
sub-cutting strips or strip sets.

It's the brainchild of a local designing talent, Gudrun Erla 
(GE Designs).  We like to support local entrepreneurs!

Directions are included in the ruler packaging, with additional video support on Creative Grids and Checker websites.

2 books ( Stripology and Stripology2) plus additional single patterns by GE Designs are perfect for learning to use this
 new ruler!

Thursday, August 1, 2013

SHHH--Don't Tell!

The Shop Hop Law Book says that the fabric can't leave the store until 8/2.  But the Quilt Police might be after me because I have violated the law.  This morning I was looking at the stacks of bolts in the storeroom, and thinking about how long they have been cooped up in there in hiding.  So I took a few out for a walk!  Seems like the humane thing to do, don't you think?  They got a wee bit of Vitamin D, and then it was back to the storeroom for them!  Waiting for you until Friday!  But getting very impatient!


Laurel brought in another new sample yesterday.  It is from Fast & Furious Home by GE Designs--I told you a couple days ago about Gudrun's great quilt-as-you-go technique.


Makes great use of a striped fabric, offset by the solid strips and corners.  You should give it a try!

Tuesday, July 30, 2013

Again, Top the Table!

Which Way?  Thata way!
This quick and easy tabletopper comes to us from an excellent Minnesota designer, transplanted from Iceland, Gudrun Erla of GE Designs.  I just learned that she is celebrating 10 years in business.
In true GE fashion, it is quilt-as-you-go, so work is saved by combining seaming with quilting.
All of the triangles are actually prairie points, so you get a little special dimension.


I try to give credit where credit is due, but I am not 100% sure of the maker of this sample.  I'm pretty sure it was Anne, and if that is wrong I will follow up with a correction.

And if you are looking for a slick way to make those prairie points look oh-so-fabulous, you need to get your hands on the Prairie Pointer tool, created by Susan Cleveland at Pieces Be With You, again another Minnesota designer.  For a quick explanation of the tool, take a look at my amazing youtube video, starring moi!
It's really kinda funny!

Only a couple days remaining before the 2013 MN Statewide Shop Hop begins on Friday.  Fingers are flying to get everything ready for our customers, and you won't be disappointed!  Everything I have featured here on the blog over the past several days will be displayed.  Many will be available in kit form.  Multiple bolts of the limited edition fabric will be stacked up to delight you!  Patterns, rulers, tools, etc., will be on hand or available to order.
And there will be treats, too!
Call 651-429-1039 for more info.

Saturday, July 27, 2013

Top Your Table


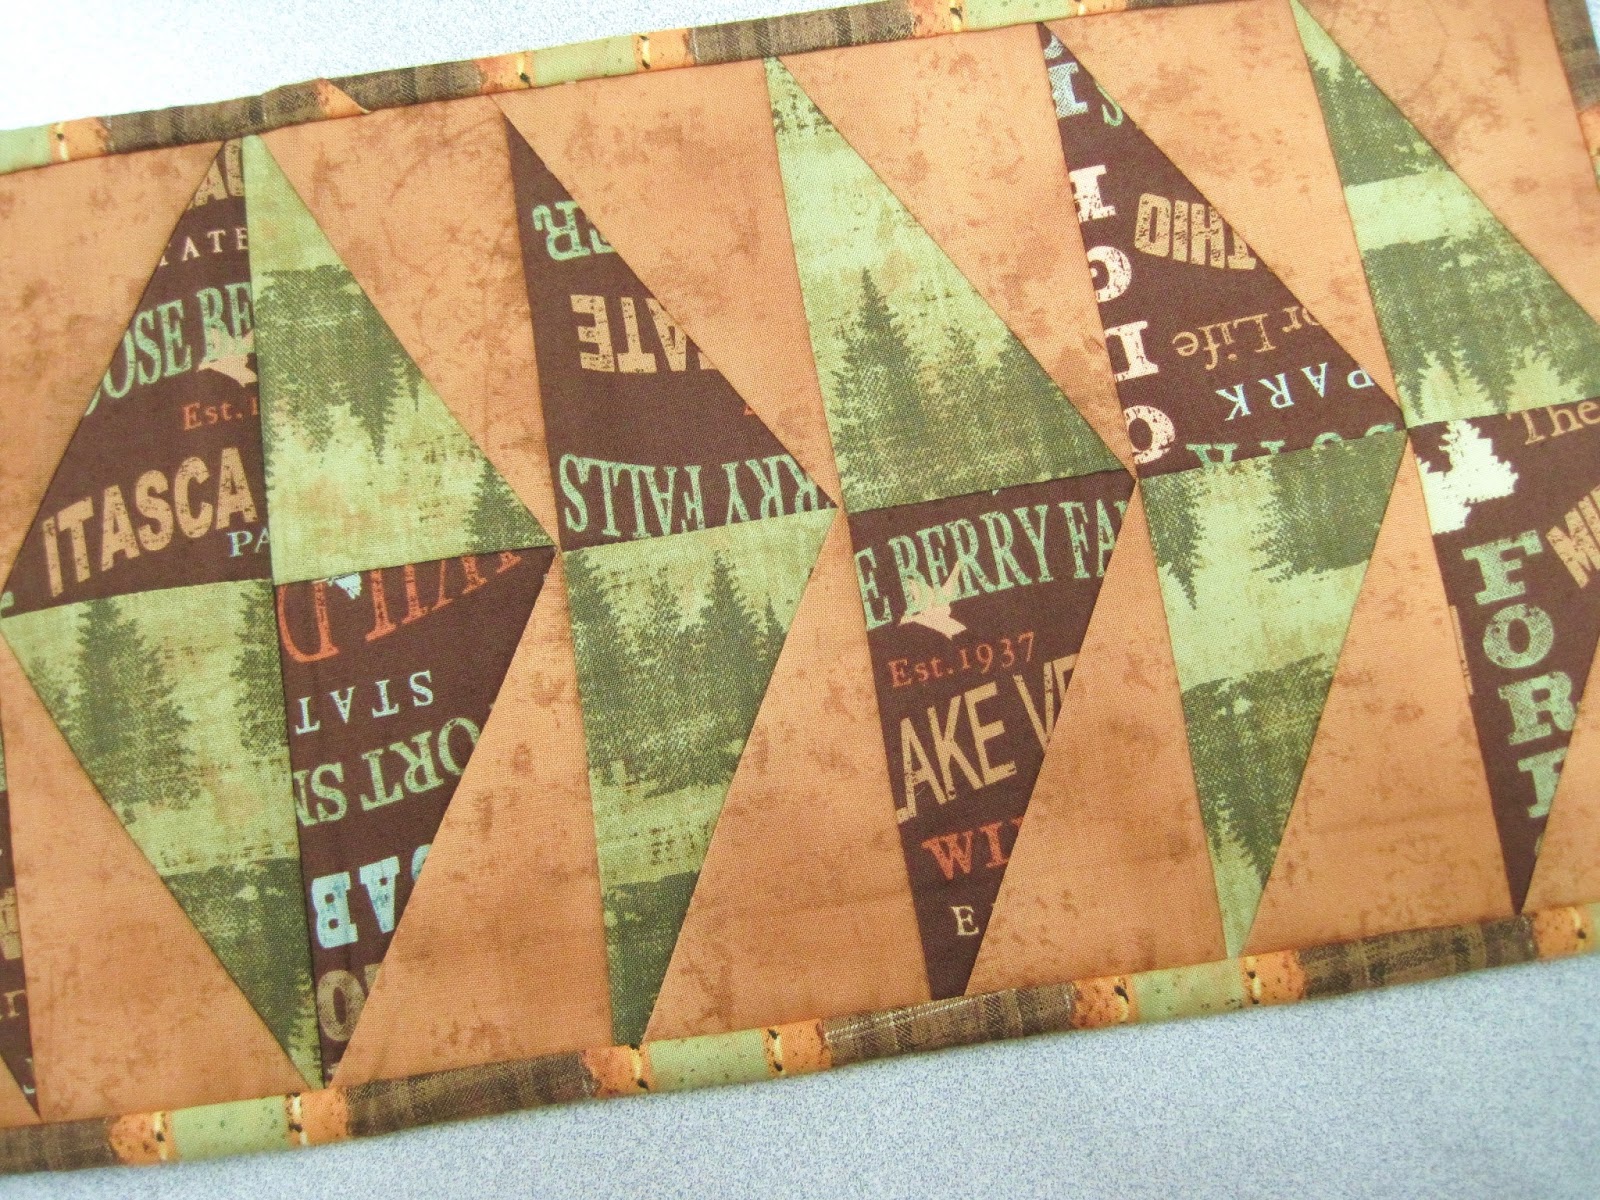
Back on track with our preparations for Quilt MN 2013!  Are you ready for a fun and easy tablerunner?  Part of the fun is the quilt-as-you-go method from GE Designs.


The pattern is Slivers, and includes 2 sizes.  Anne made our sample in the smaller size.  We will be happy to hold a pattern if you give us a call at 651-429-1039!

Check back tomorrow for another tablerunner option!

Wednesday, July 18, 2012

A few more Quilt MN ideas to tempt you!


Tumbling Mats, pattern by Far Flung Quilts , using a package of pre-cut stiff interfacing mats and the tumbler ruler by Creative Grids.  I made these myself and will make more. (That means it was enjoyable and successful!)  Things I liked about making these placemats:
  • the Craftex pack of mats have a real nice rounded corner and were easy to work with.  They are fusible on both sides, the backs of these placemats are just one fabric.  Debbie made another set that had one piece of fabric on each side, saving the time of piecing.
  • The tumbler ruler was a slick deal, and I could stack up the 6 fat quarters and cut out 30 tumblers in a row, then move the ruler over to the next row.  Just get yourself a sharp blade to start with!
  • The fusing went pretty easily, I did use a press cloth because it took a good amount of time and heat and pressure to get a thorough bond all over.  I am always worried about scorching my fabric so the press cloth gives me a little insurance.  Those singe marks don't disappear very well, ask me how I know!
  • I did the binding all by machine and it looks good!  Just remember to slightly ease a tad bit of fullness around the corners so it will lay flat when folded out.  I sewed the 2 1/2" strips to the front (after pressing them in half) and then pressed the binding seam away from the mat and folded it neatly to the back and pressed again, then stitched in the ditch from the front.  Only had one little spot on a corner that had a tuck in the back and had to be re-engineered.  And, of course, use a walking foot, preferably with the center guide!


The Quiltie Trio runner was made by Anne from a much-loved and well-used pattern by GE Designs.  We have used this pattern so many times in holiday themes.  It is just the right size for a little centerpiece and it done quilt-as-you-go, so the piecing and quilting are done at the same time.  How great is that!  And another great MN designer who has many other patterns and books that you need to know about.


Emily finished up Cabin in the Woods by Patchabilities with a laser cut kit available, too!  The fabric kit for this comes with everything but the batting and thread, plus saves you a heap of time because you don't have to trace and fuse all the pieces!  There is a layer of fusible on the wrong side of the fabric, and each piece is meticulously cut by laser-guided machinery.  We love this new service that we can offer you on select Patchabilities kits.  Of course, you can always purchase the pattern only and put your own favorite fabrics into your little cabin.  Eagle eyes might notice that we even used the stripe from Quilt MN 2011 for the binding.  We had just a little of that print left and thought it would be great for this project.

All of these patterns and kits are available for purchase starting August 3.  But the good news is that we are taking requests right now!  While supplies last, of course, so don't delay!

Now back to my stitchin' -- Pam